Inkscape - Change the color of markers
Markers of a stroke have one problem in Inkscape,
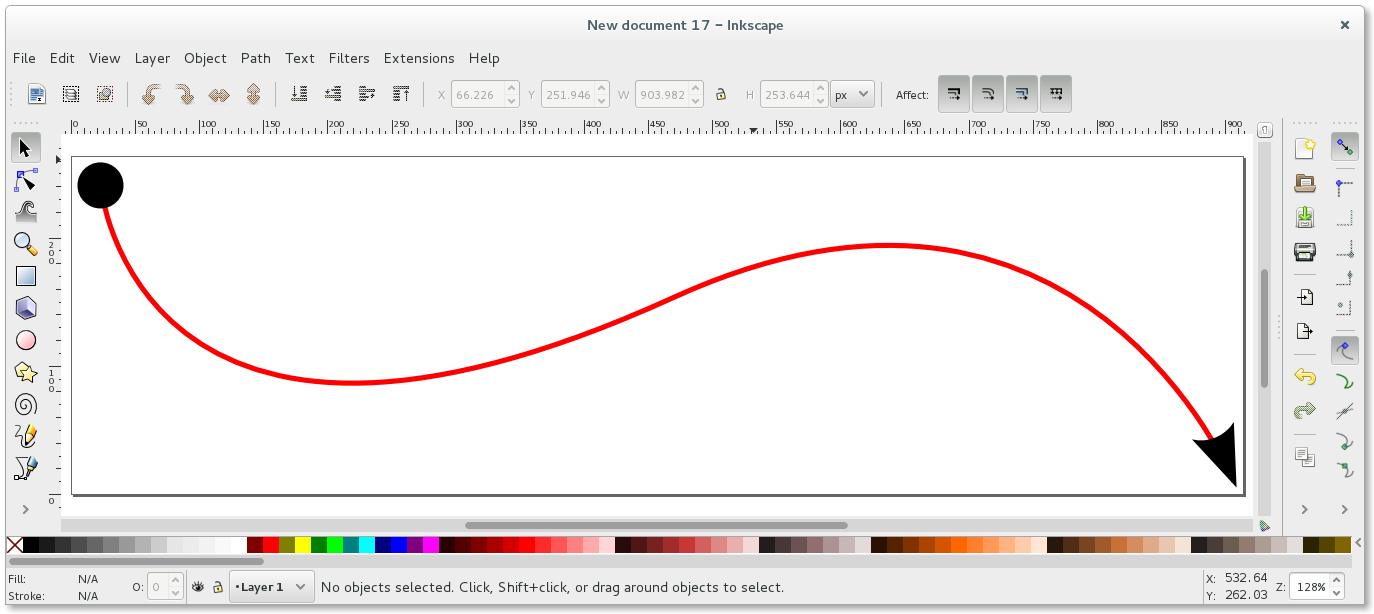
they are always black. Here a small example of a unfilled shape with red Stroke paint, a DotL as
Start Markers and a Arrow2Lend as End Markers.

I would like to show three ways to turn the markers red.
Stroke to Path
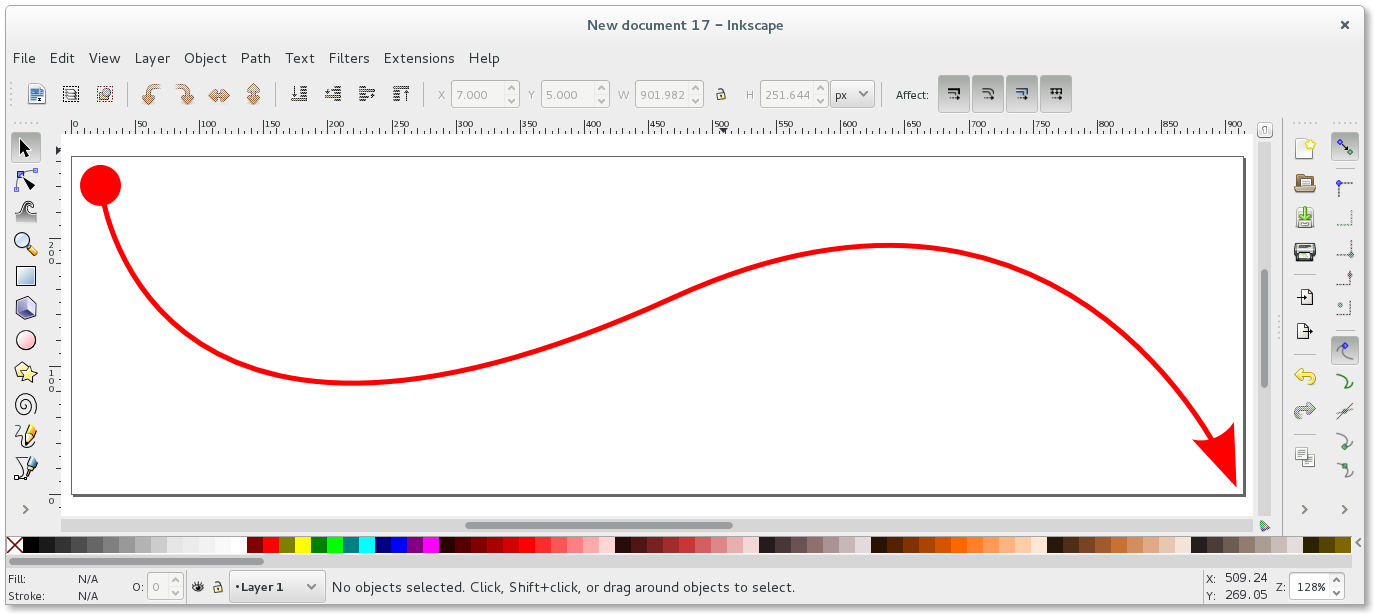
The first solution is a little workaround. We will just turn the Stroke to Path. You can find that option in the menu item Path. After converting Stroke to Path we just need to Fill the path with red and choose No paint for the Stroke paint.

Unfortunately this solution ends with all strokes as paths.
Color Markers to Match Stroke
There is also a easy way under Extensions - Modify Path - Color Markers to Match Strokes. This will turn your markers into the same color as the stroke.
Defining a marker in XML
A really hard way is to define a new marker that is red. We need some XML knowledge for this solution. Let us take a look at the XML of the red arrow with the black markers from above.
SVG with text editor
We can take a look at the SVG file after saving with a text editor and should find a part like this. Here is the definition of the path.
<g
    transform="translate(-61.225513,-541.77191)"
    id="layer1">
    <path
        d="m 84.259294,565.09136 c 0,0 28.498156,277.74509 447.012016,86.99612 317.08092,-144.51818 436.83158,143.45105 436.83158,143.45105"
        style="fill:none;stroke:#ff0000;stroke-width:4;stroke-miterlimit:4;stroke-opacity:1;marker-start:url(#DotL);marker-end:url(#Arrow2Lend)" />
</g>
Really important are here the marker-start:url(#DotL) and marker-end:url(#Arrow2Lend) in
the style property of the path tag. The strings #DotL and
#Arrow2Lend are pointers to ids of markers that we should find also in the
SVG file inside of a defs tag. Here for example the Arrow2Lend marker.
<marker
    refX="0"
    refY="0"
    orient="auto"
    id="Arrow2Lend"
    style="overflow:visible">
    <path
        d="M 8.7185878,4.0337352 -2.2072895,0.01601326 8.7185884,-4.0017078 c -1.7454984,2.3720609 -1.7354408,5.6174519 -6e-7,8.035443 z"
        transform="matrix(-1.1,0,0,-1.1,-1.1,0)"
        id="path5842"
        style="fill-rule:evenodd;stroke-width:0.625;stroke-linejoin:round" />
</marker>
The important part here is the style property inside of the path tag. You understand now
that we just edit the XML by copying the existing marker nodes. But we want to do that with the
XML Editor of Inkscape instead of a text editor.
SVG with Inkscapes XML Editor
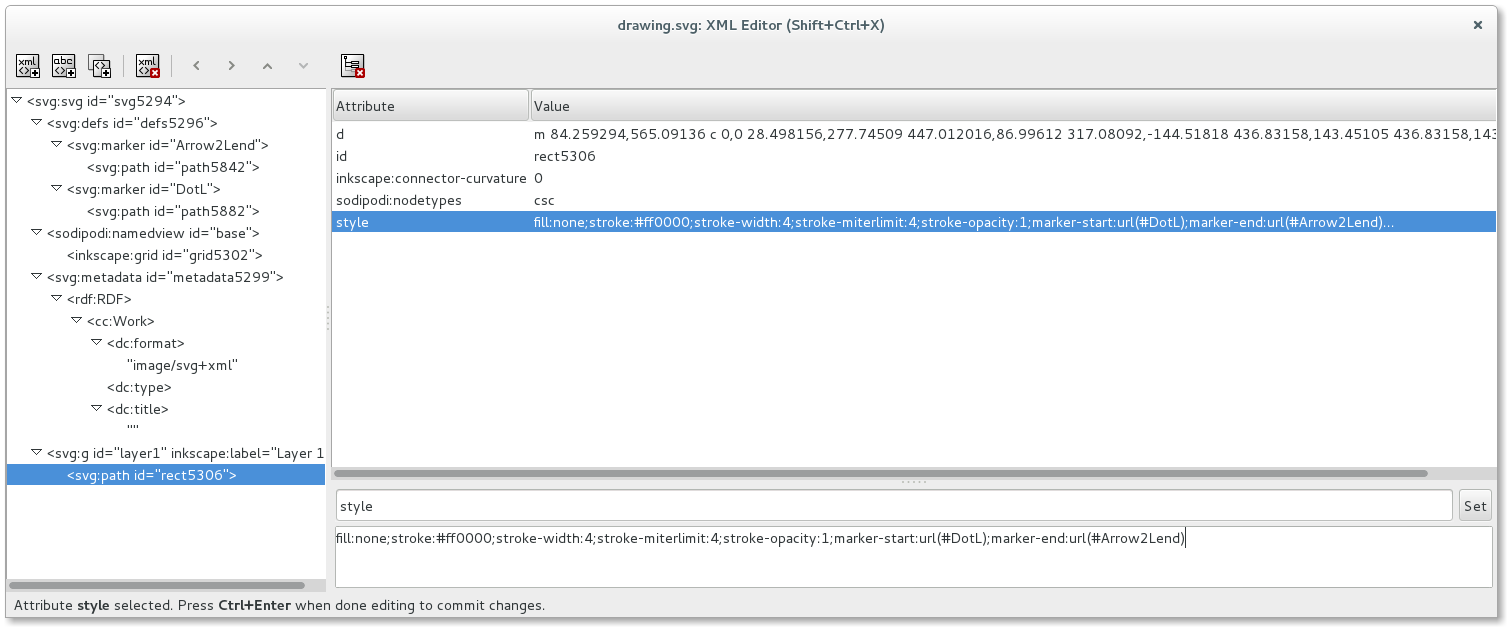
Above are just the important snippets of the SVG file. The hole SVG file looks in the XML Editor of Inkscape something like this.

Copy marker node
Click in the XML tree on the node svg:marker with id Arrow2Lend and after that on the
button Duplicate node. We should now have one svg:marker more under the node
svg:defs. In my case the new marker has id marker6492. Let us rename the id of that marker
from marker6492 to Arrow2LendRed. You can do that by clicking on the id
property, changing the value in the textarea and pushing the Set button.
Edit the style of the marker node
Open the new marker node and click on the containing svg:path node. After that on the
style property. The current style of my new path node has the value
fill-rule:evenodd;stroke-width:0.625;stroke-linejoin:round. The style values are all separated by an
semicolon ;. I will add the value fill:#ff0000 for the red color to the styles and push
the Set button.
Setting the marker to the path
We have now a new defined marker with the id Arrow2LendRed for example. Let us open the node
svg:path that represents our red arrow that has two black markers. The current style
property should be something like this at the moment
fill:none;stroke:#ff0000;stroke-width:4;stroke-miterlimit:4;stroke-opacity:1;marker-start:url(#DotL);marker-end:url(#Arrow2Lend).
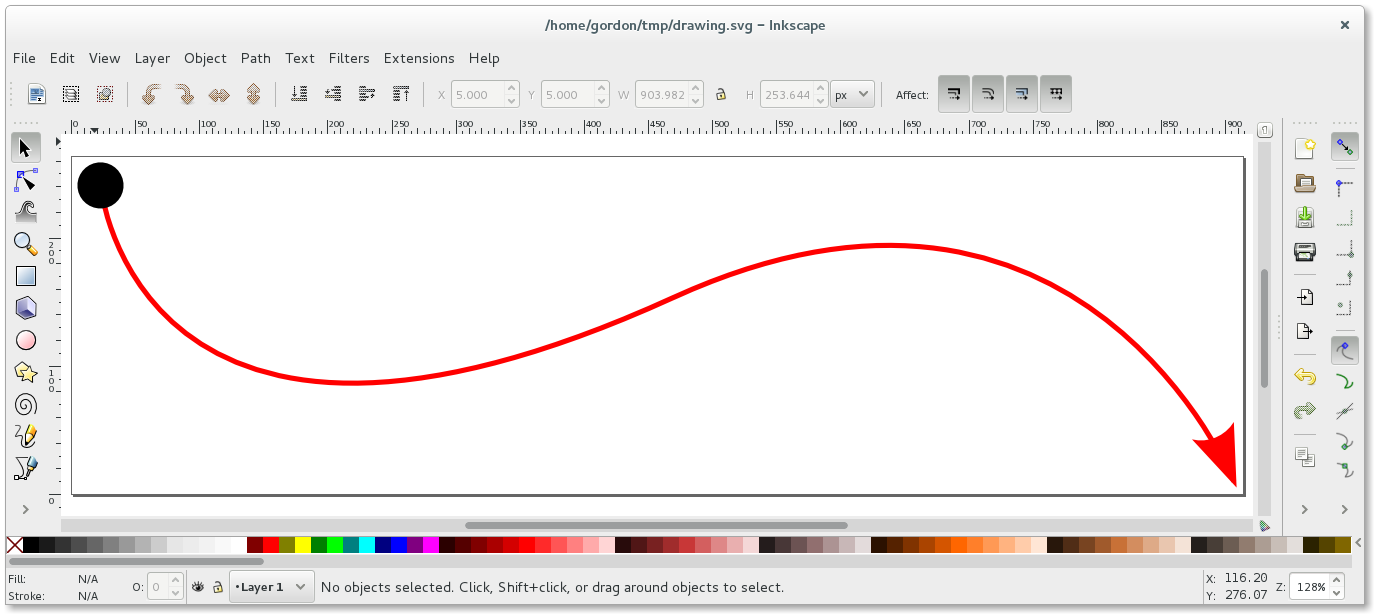
Lets change #Arrow2Lend to #Arrow2LendRed and the end marker of our drawing should turn
red now.

You can do the same thing with the starting marker.
Defining markers globally in Inkscape
We can define our own markers globally also under Object - Objects to Marker.