Digitize a vinyl record with Audacity on Linux
I am digitizing all my old vinyl records and I would like to show how I am doing that with Audacity on Linux.
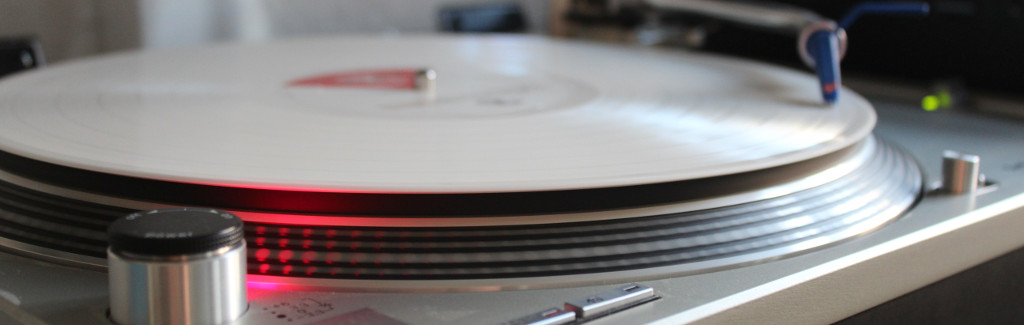
Equipment
I am using a Technics SL 1200 MK2 and a Pioneer VSX-521-K receiver. The important thing that I have learned is that recording without a receiver can end with distorted records. A 3.5 mm stereo phone connector cable brings the sound from the receiver to my computer.
Recording with Audacity
I guess the recording with Audacity is pretty easy. We just press the red Record button and start the turntable simultaneously. But we have to make sure that the output volume of the receiver is not too high. I always need one or two tries before the amplitude looks nice in Audacity. After recording the hole side of the vinyl record, I save the record as Audacity project and start with the next side of the vinyl record.
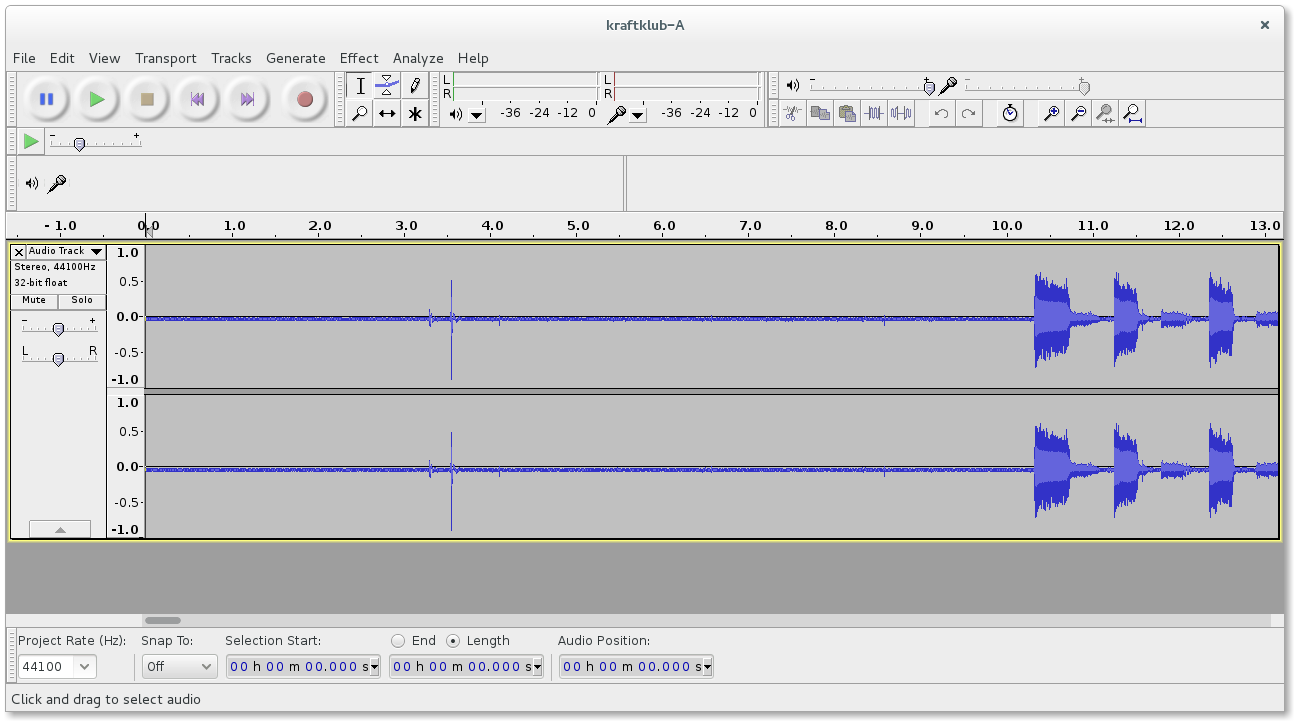
Preparing the record
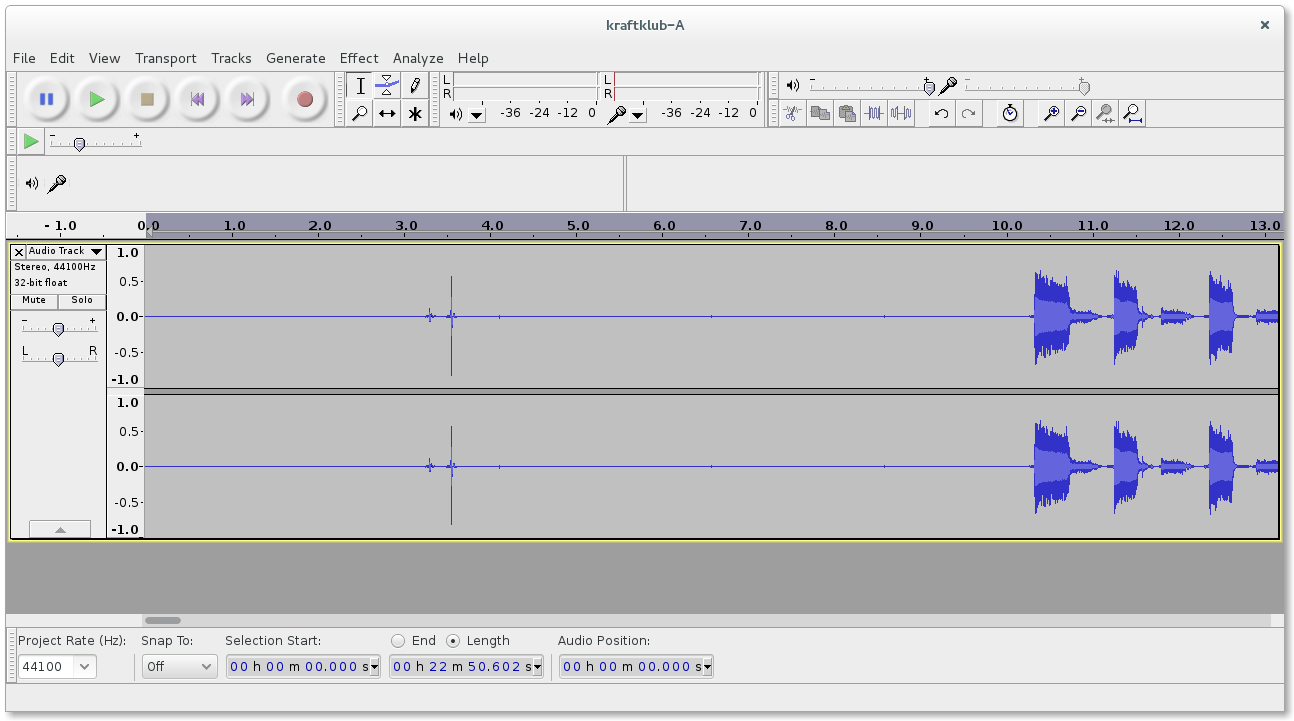
The start of our record should look similar to this one. The first unevenness in the amplitude should be the placing of the needle on the vinyl record.
Removing noise
Similar to my post Digitize a cassette tape with Linux that is also mentioned above we will start with the noise removal.
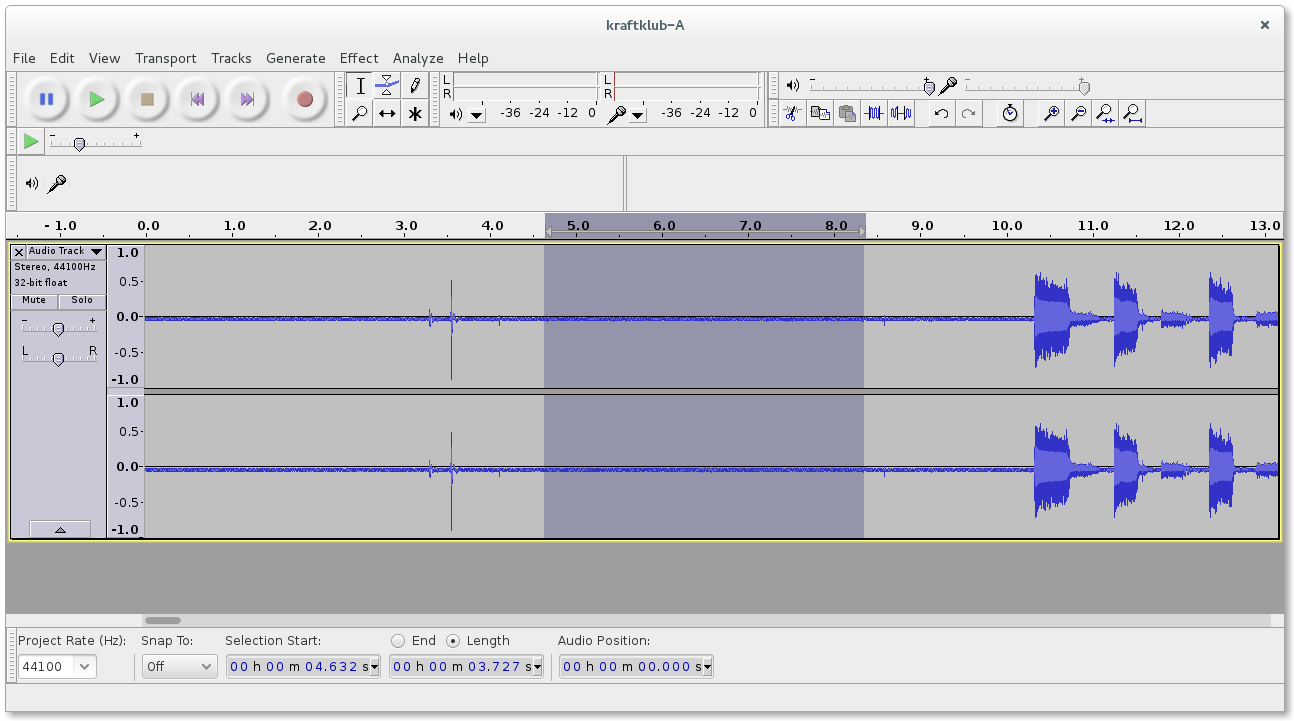
Get noise profile
We will select a part of the almost zero line and click in the menu Effect and Noise Removal....
In the popup of Noise Removal we will click on the button Get Noise Profile.
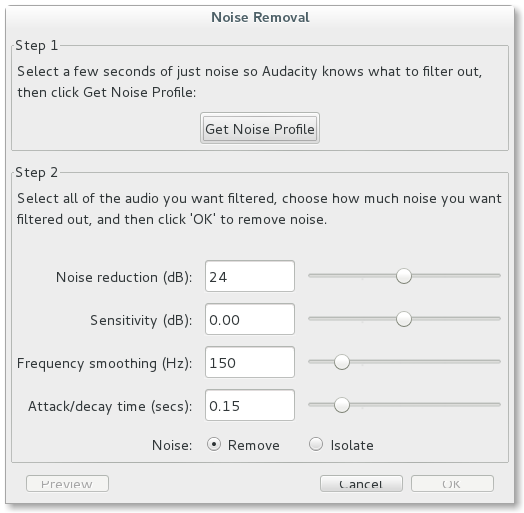
Noise elimination
Afterwards we select the hole record and click again on Noise Removal... in the menu item Effect. The noise profile is already stored and now we just have to eleminate the noise in the hole record by clicking the OK button. The almost zero line should be a zero line afterwards and the hole record should look similar to the following one.
Normalizing the record
Again we will select the hole record and click on Normalize... in the menu item Effect. Afterwards we just click OK in the Normalize popup.
Splitting the record into songs
There are automatic functions in Audacity to detect songs or let us better say the silence between songs, but the following part is in the most cases manual work.
Sound Finder
The Sound Finder... is available in the menu item Analyze. Audacity will try to detect songs and will return you labeled selections.
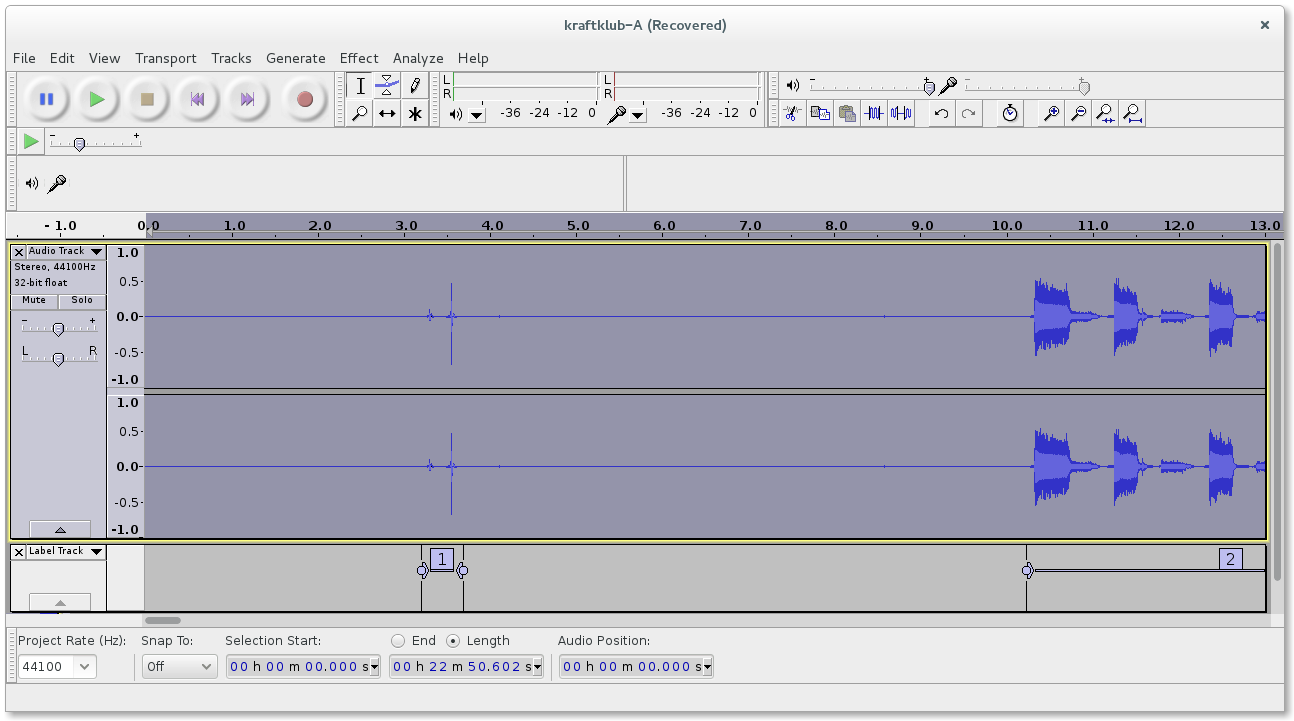
But you should not trust this tool too much. This tool is doing a great job, but some artists just do not have silence between their songs and you may need to edit the given selections.
Export audio
After shifting the selections a little bit, I just copy a selection into a new Audacity Project and click on Export Audio... in the menu item File. I like to use the following schema for my music.
Artist/
`-- Album/
    |-- 01 - Title1.ogg
    |-- 02 - Title2.ogg
    |-- 03 - Title3.ogg
    `-- 04 - Title4.ogg
Metadata
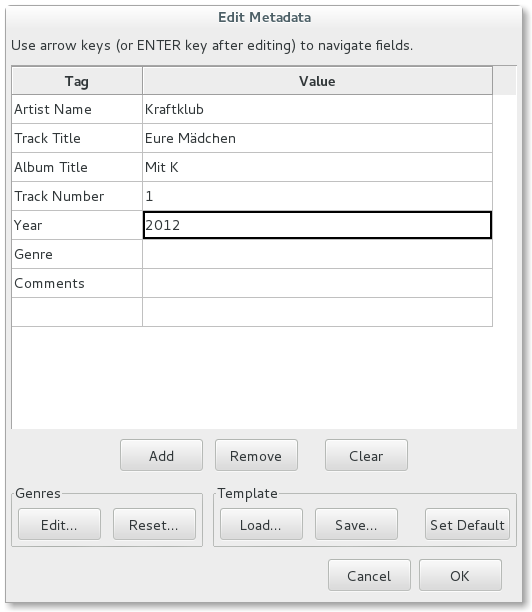
The last thing after setting the filename are the meta tags. It can be very helpful to use the Template Load... and Save... if you are saving a lot of songs from one album.
Export audio multiple
Audacity has also a Export Audio Multiple... function instead of the single export. A possible way to use this, can be the labels of the selection that are later used as filenames.